Iron/Ironing Board
Fabric/Trim fabric (see below for measurements)
Sewing machine, scissors,pins
Ribbon
Safety pin
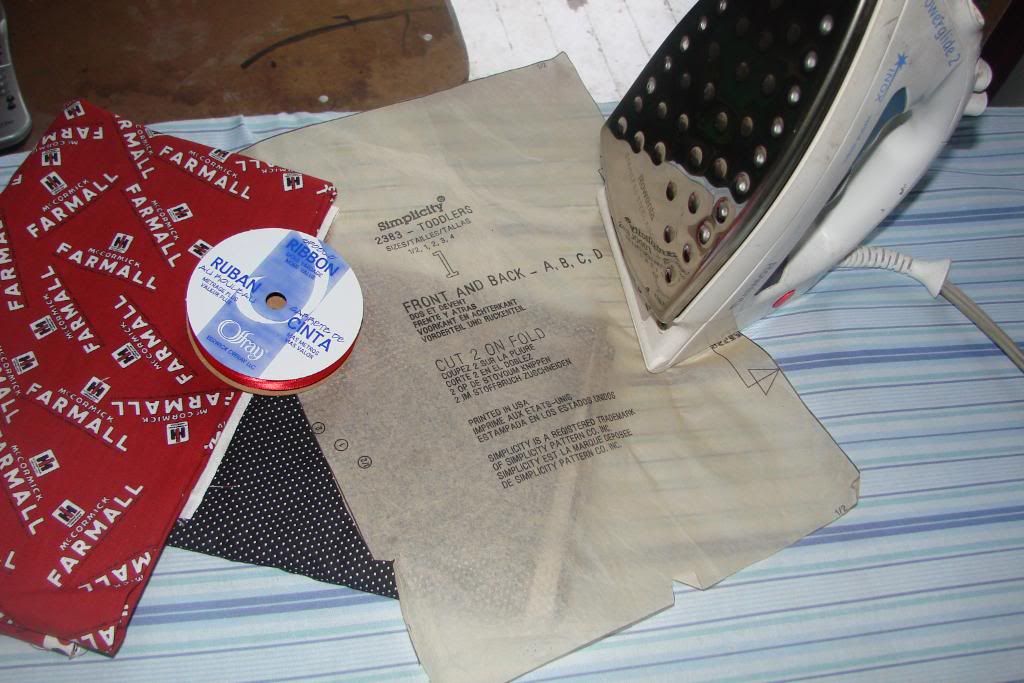
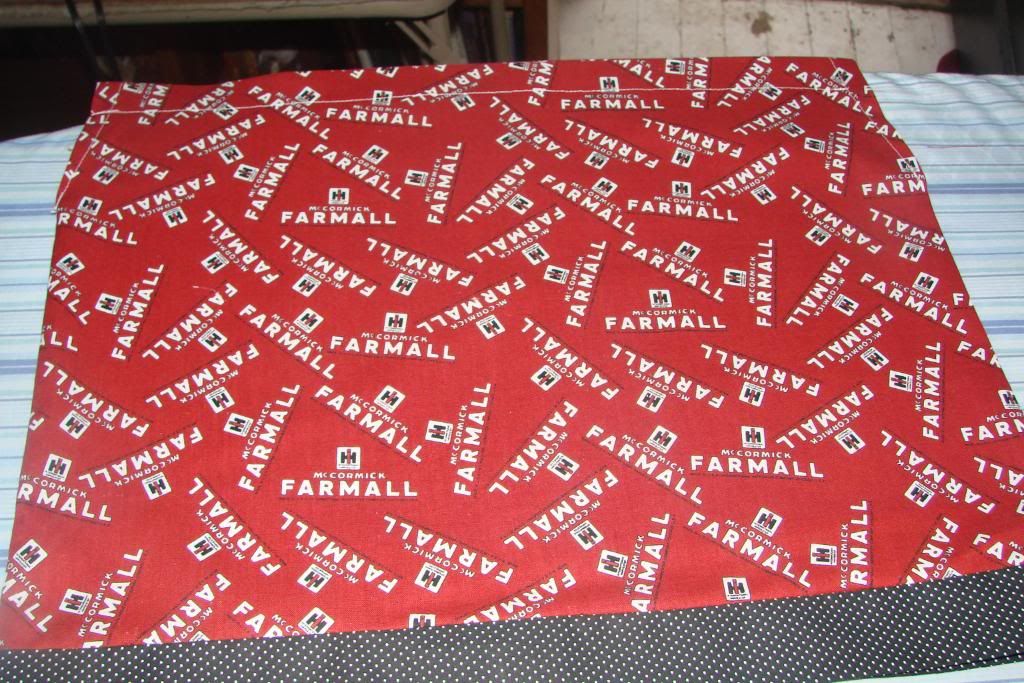
Step 1: Lay your fabric for the body of the dress out and fold length wise to create a fold. My pattern measures about 8' by 13". You can buy a pattern or make one by taping computer paper together to the desired size. Cut 2 of the body pieces
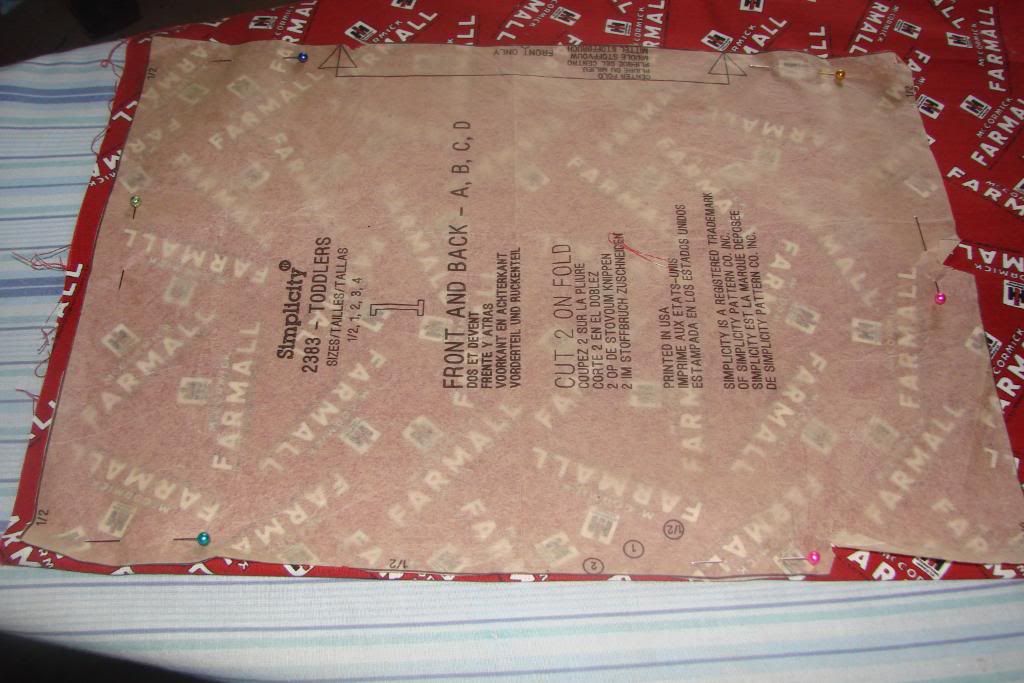
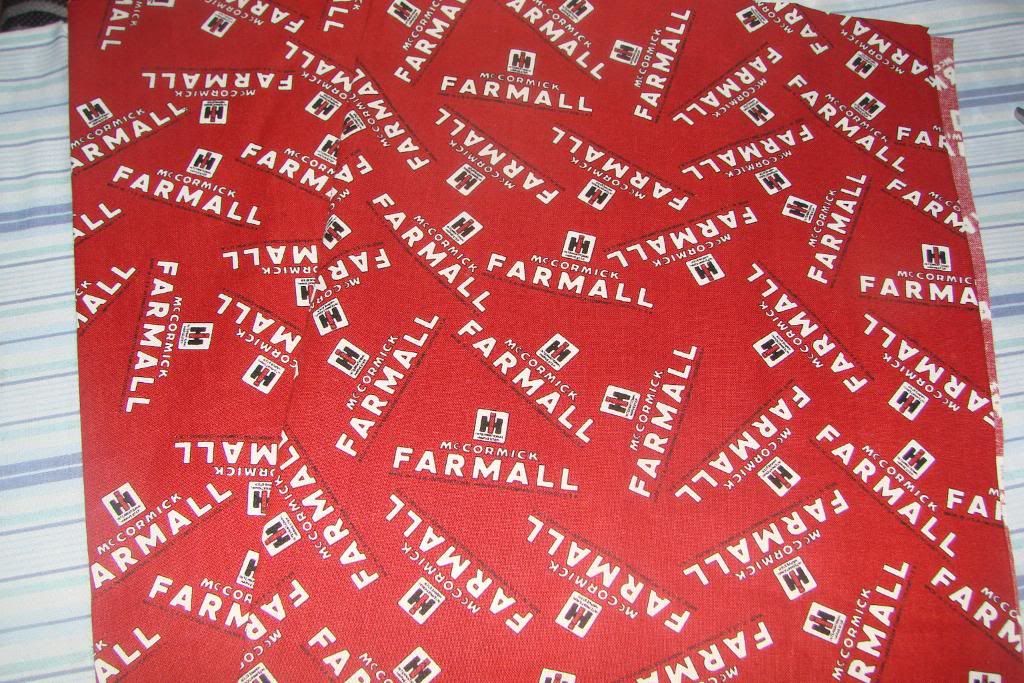
Step 2: Using the body pattern as a width guide, lay down the trim fabric. Fold just like the body fabric and cut 2. The width can be whatever you choose. If you want 1 1/2" of trim to show, them make it 3" (explained in a moment)
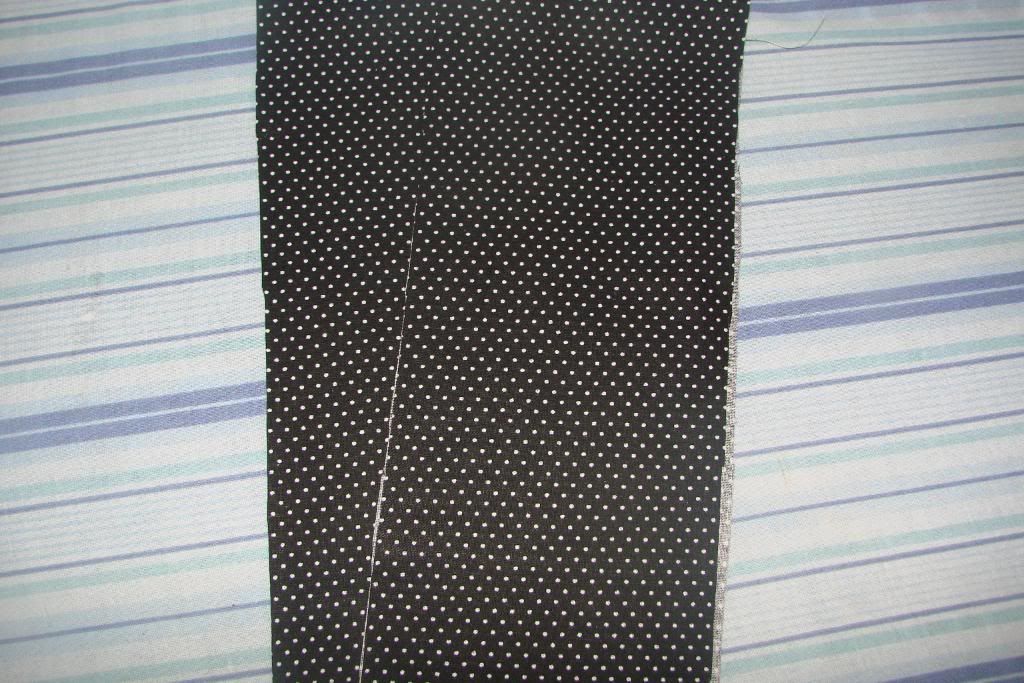
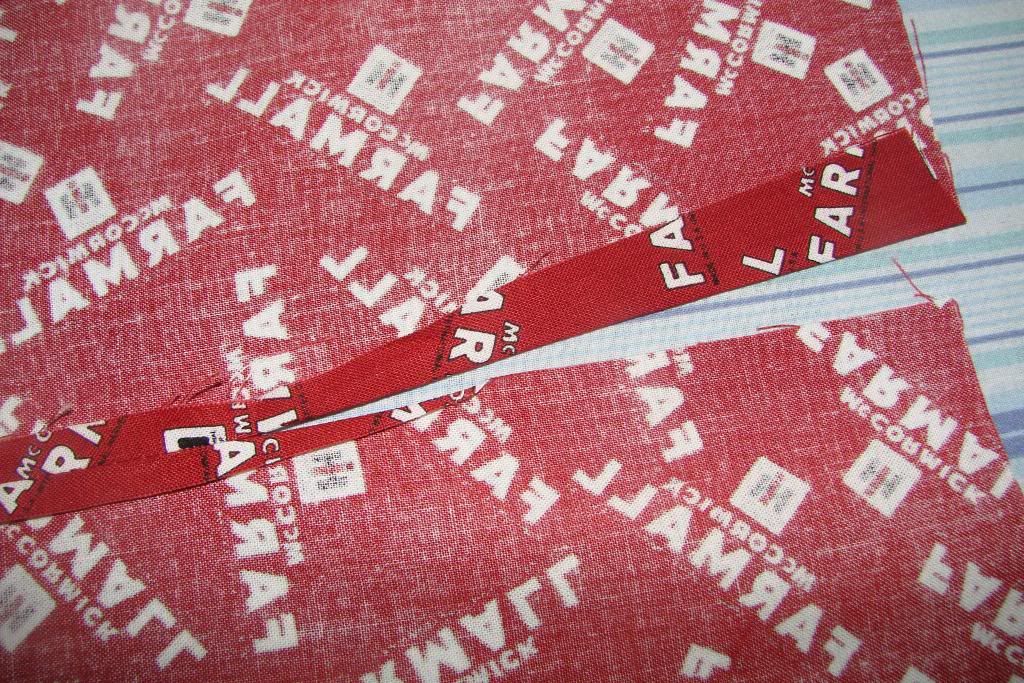
Step 3: Fold trim in hlaf length wise and iron flat
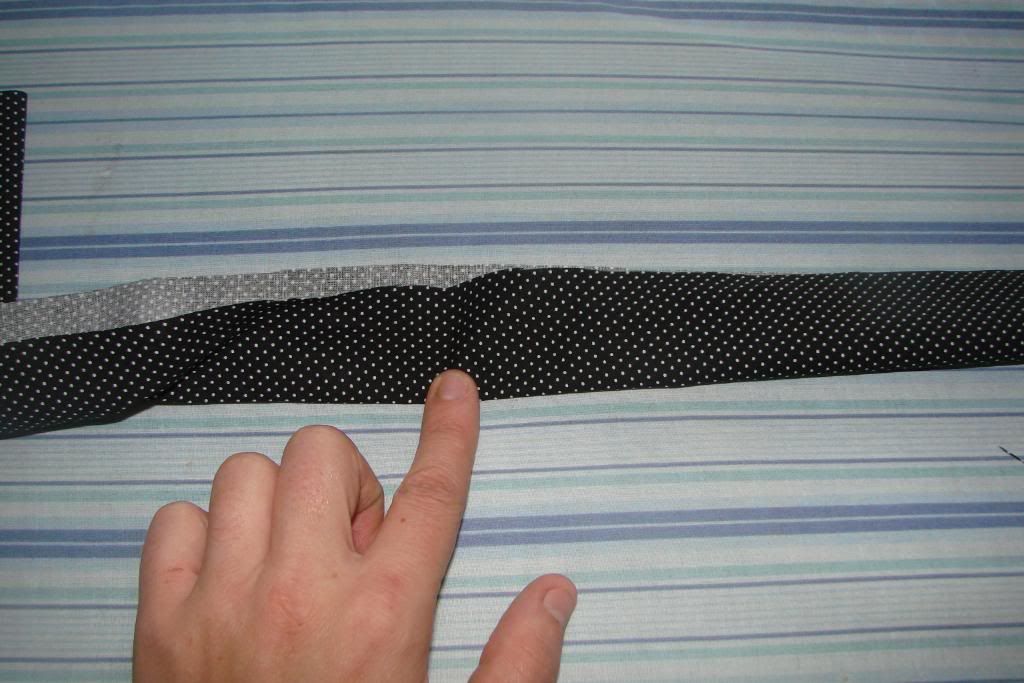
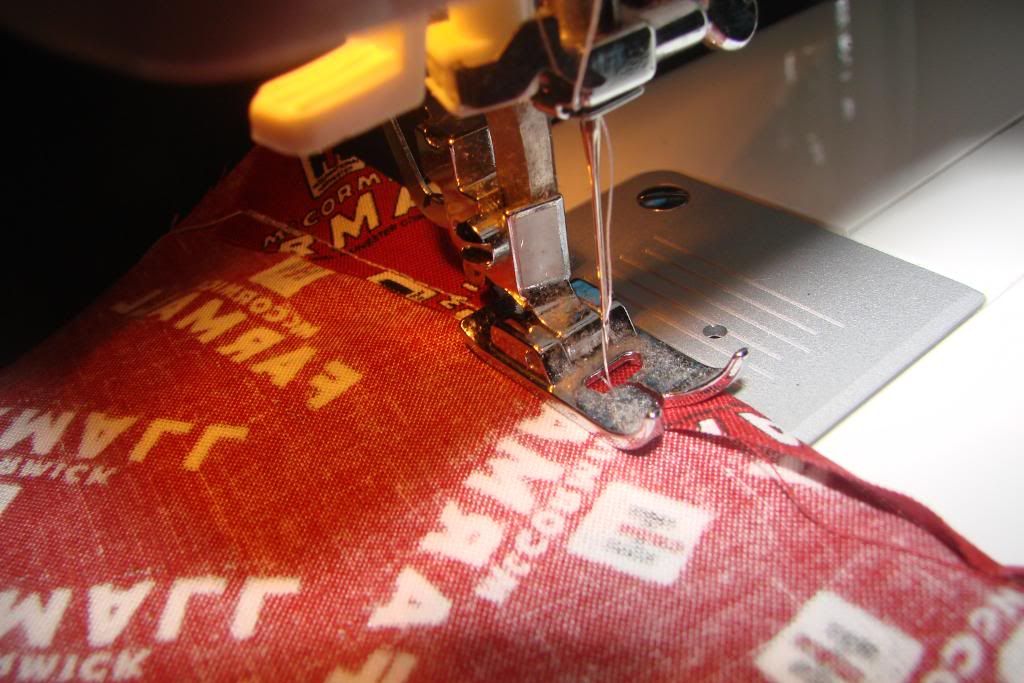
Step 4: Pin the right side of the trim to the right side of the body fabric at the bottom edge. Same with other trim/body pieces. Sew together
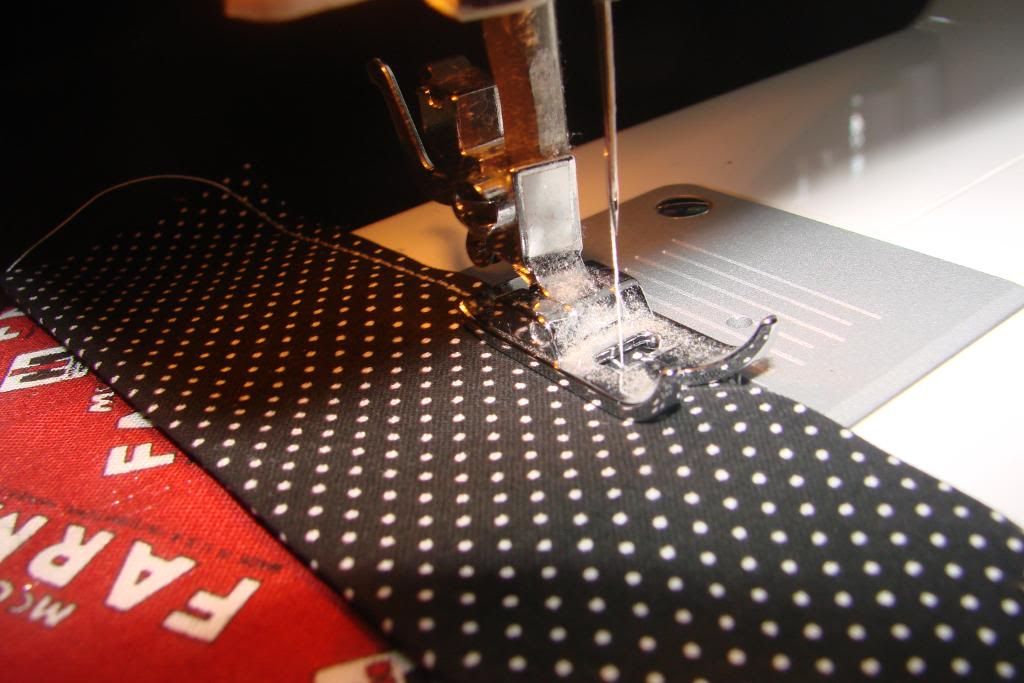
Step 5: Iron the seam of the trim and body piece flat
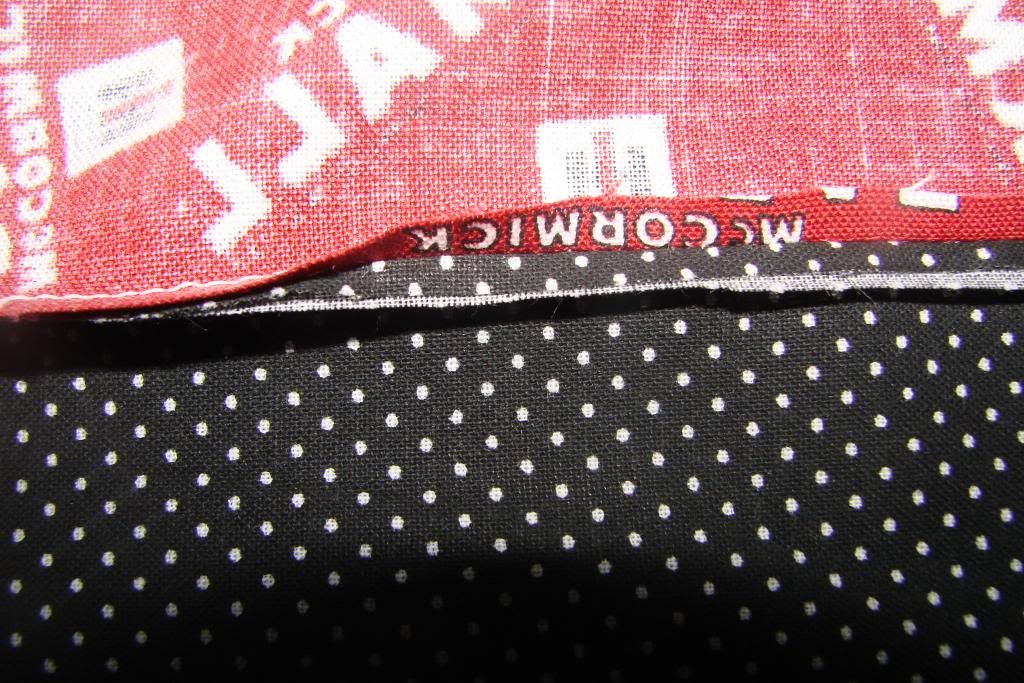
Step 6: Here are both body pieces with trim attached. This shows to pin the dress pieces right sides together

Step 7: Pin the 2 dress pieces together. At about 4 inches from the top (for a 12 moth size) stop pinning, this will create the arm hole. *Green pin notes the 4" point. Sew pieces along the sides up to the 4: mark. Repeat on other side
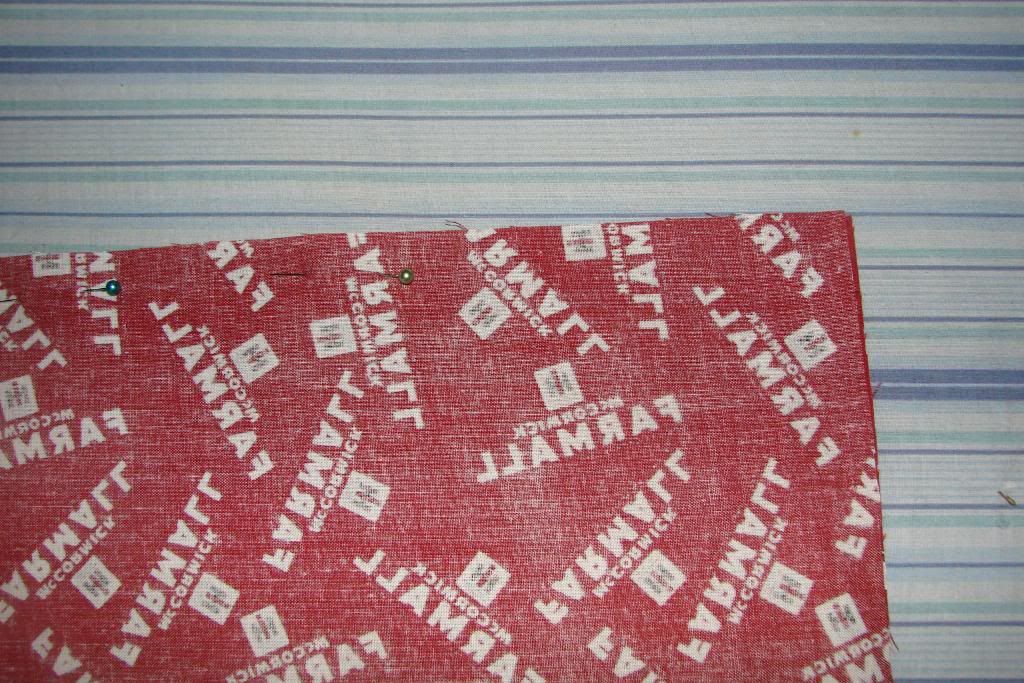
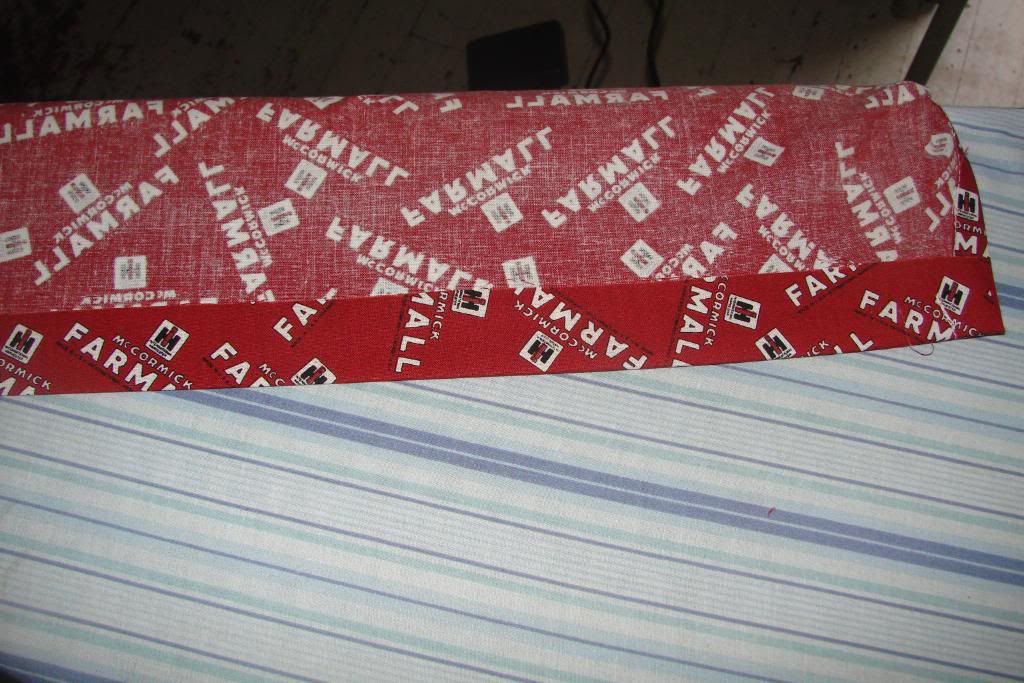
Step 8: Once sides are sewn, fold over the fabeic (as shown) and iron flat
Step 9: Sew
Step 10: To create to casing for the ribbon, fold the top of the dress over about 1 1/2" to 2", iron flat.
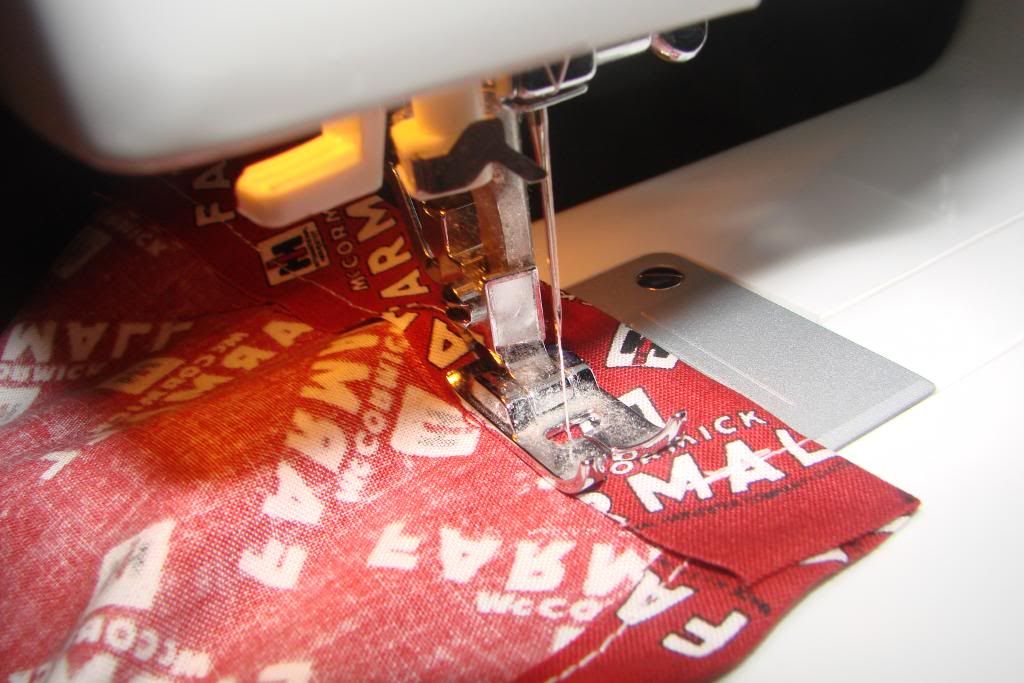
Step 11: Sew the casing along the bottom edge only. Repeat on other side of dress. DO NOT SEW SHUT
Step 12: Dress turned right side out and ready for ribbon
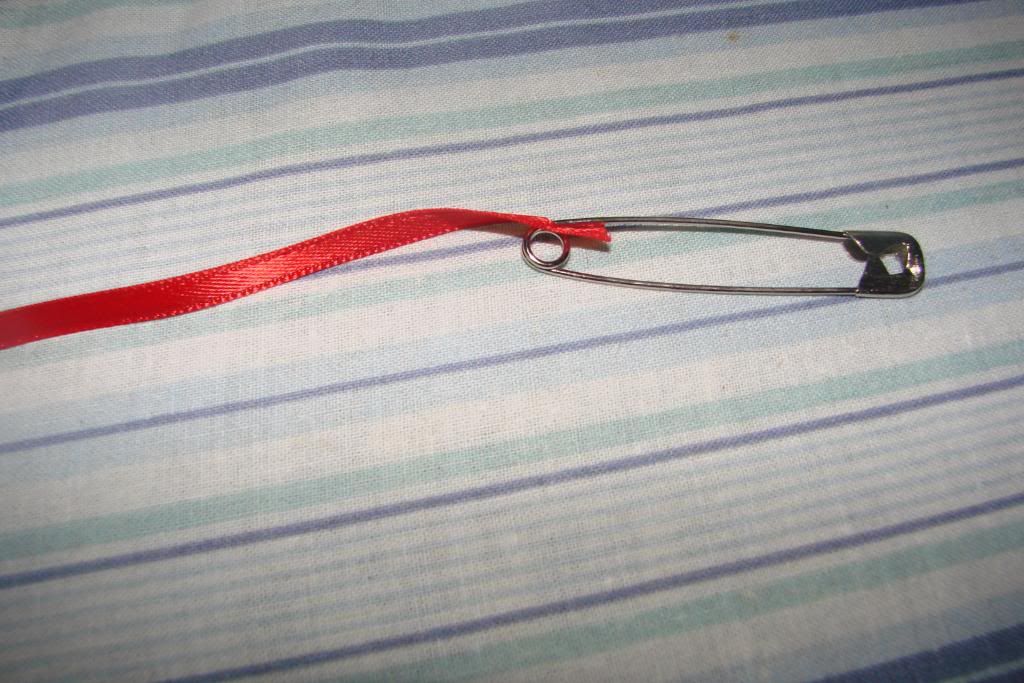
Tip: To guide ribbon through the casing, attach any size safety pin
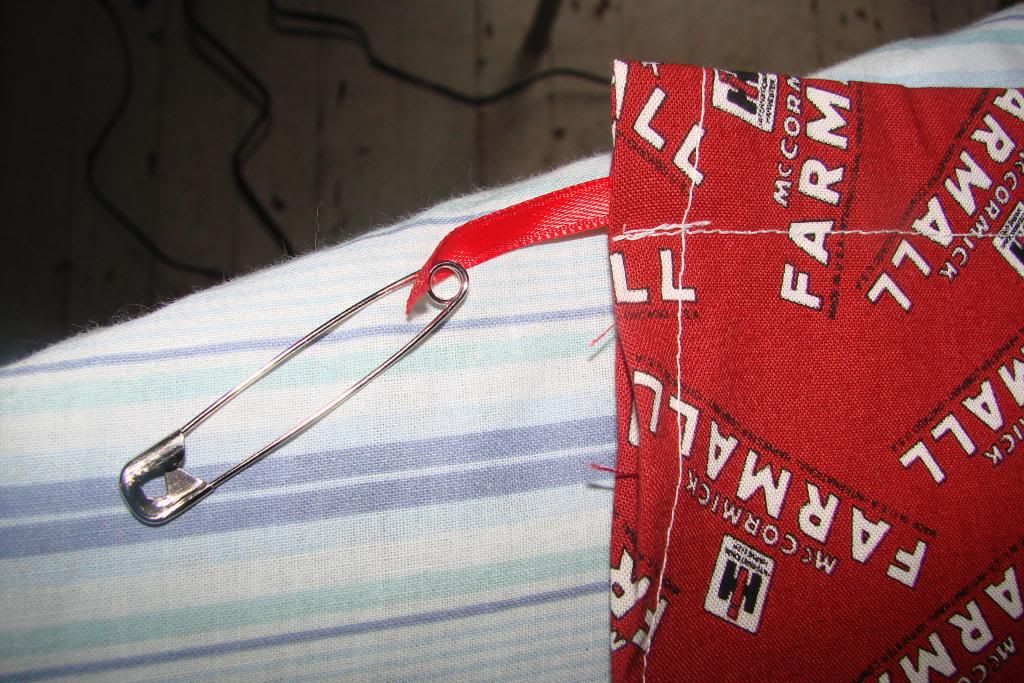
Step 13: Guide ribbon through and then cut at the desired length. Repeat on the other side of the dress
All Done:

No comments:
Post a Comment